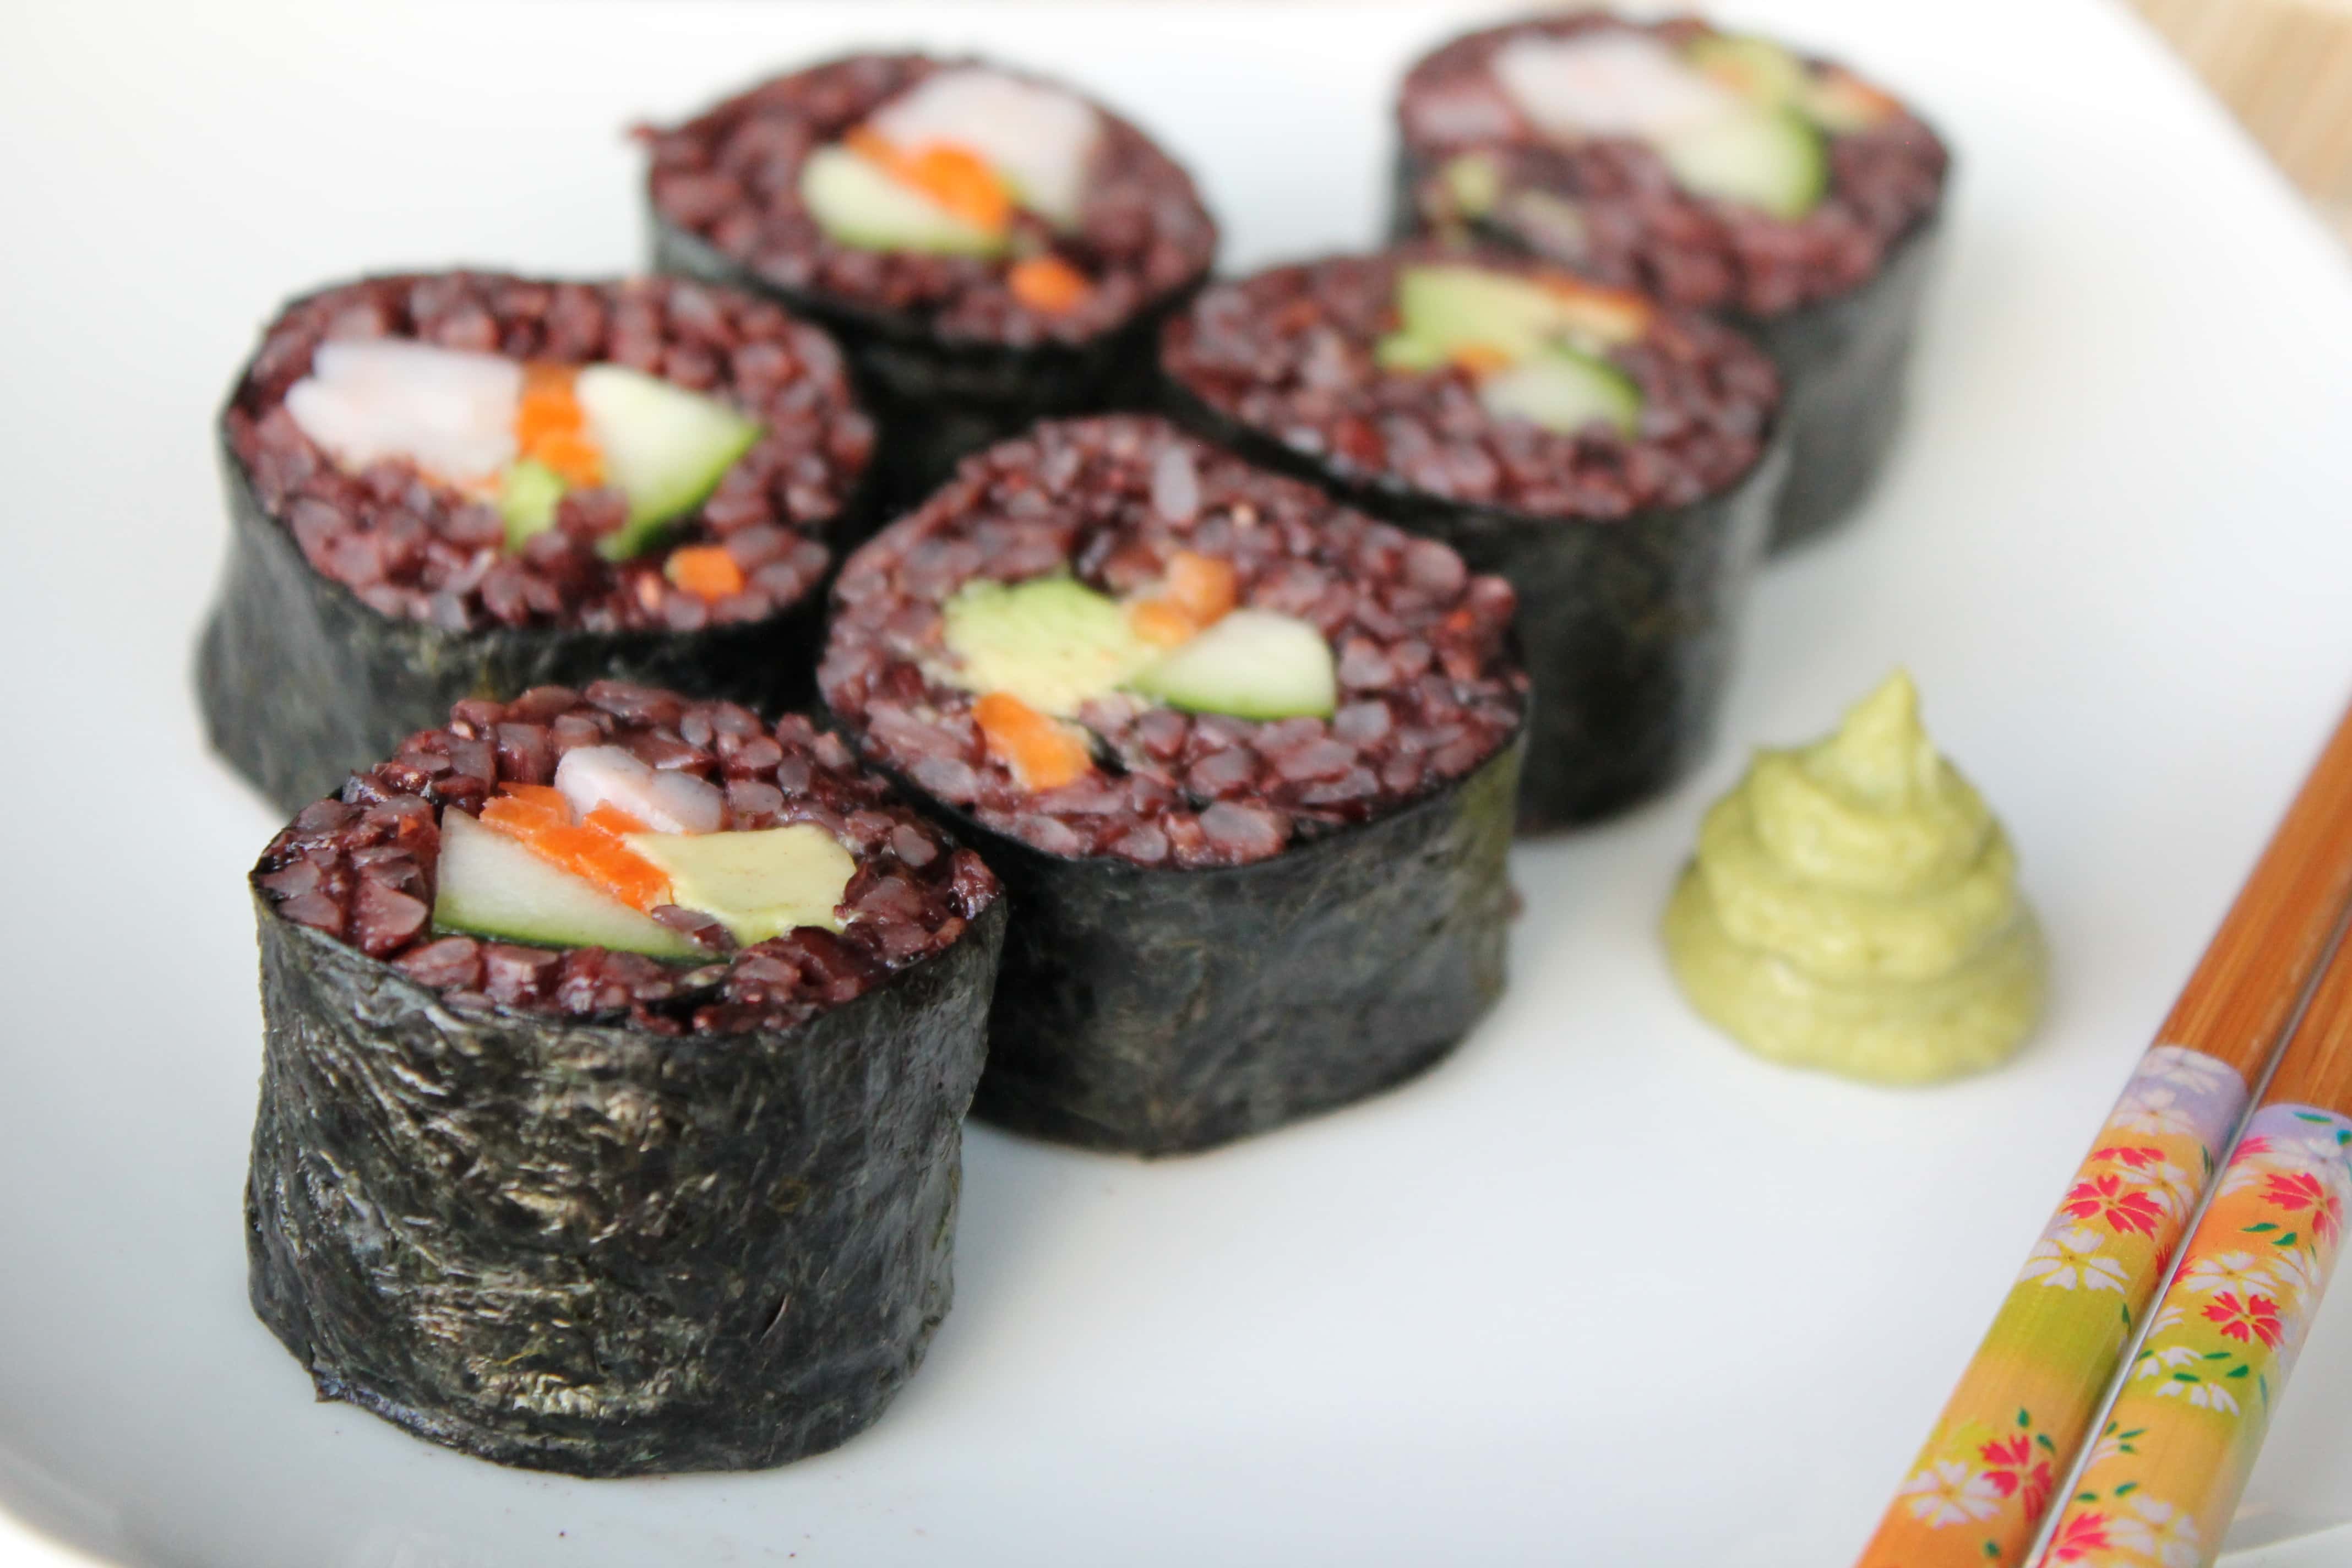
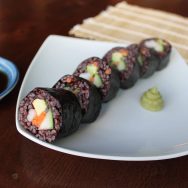
Black Rice Sushi
- Gluten-Free
- Dairy-Free
- Pescatarian
Sushi is one of my favorite foods. And no, it’s not paleo. Rice is not considered paleo since it’s a grain. While I do limit my rice consumption, I do not think it is quite as unhealthy as corn or wheat, so I eat it on occasion. I’m not a huge fan of white rice because of it’s high glycemic index (i.e. it’s a blood sugar-spiking food)*. I’m also not a huge fan of brown rice because of it’s potential for containing arsenic. BUT I am a fan of black rice. It’s the richer-tasting, anthocyanin-packed, classier cousin of the other rice varieties. It’s loaded with antioxidants and delicious. ‘Nough said.
In addition to subbing black rice for white rice, my other major change from traditional sushi is the use of liquid stevia drops instead of sugar. Did you know that regular sushi rice contains a ton of sugar?!? No good. But it is an easy fix. You’ll never be able to taste the difference. My sushi rice is still sweet, tangy, and slightly salty. Just like it should be.
My love for Japanese food began when I lived in Japan for 2 years during my childhood. I loved the taste of the sweet and tangy rice, the crunch of the seaweed, and the savory fillings and toppings. To this day I still love sushi, no matter what variety (Okay, except for sea urchin. I could live without that. They say it’s an acquired taste. I don’t think I will EVER acquire that taste. Not my thing.). Although I do enjoy some of the crazy Americanized sushi rolls that are popular across North America, my favorite kind of sushi is simple. A simple composition made with fresh, nutritious ingredients.
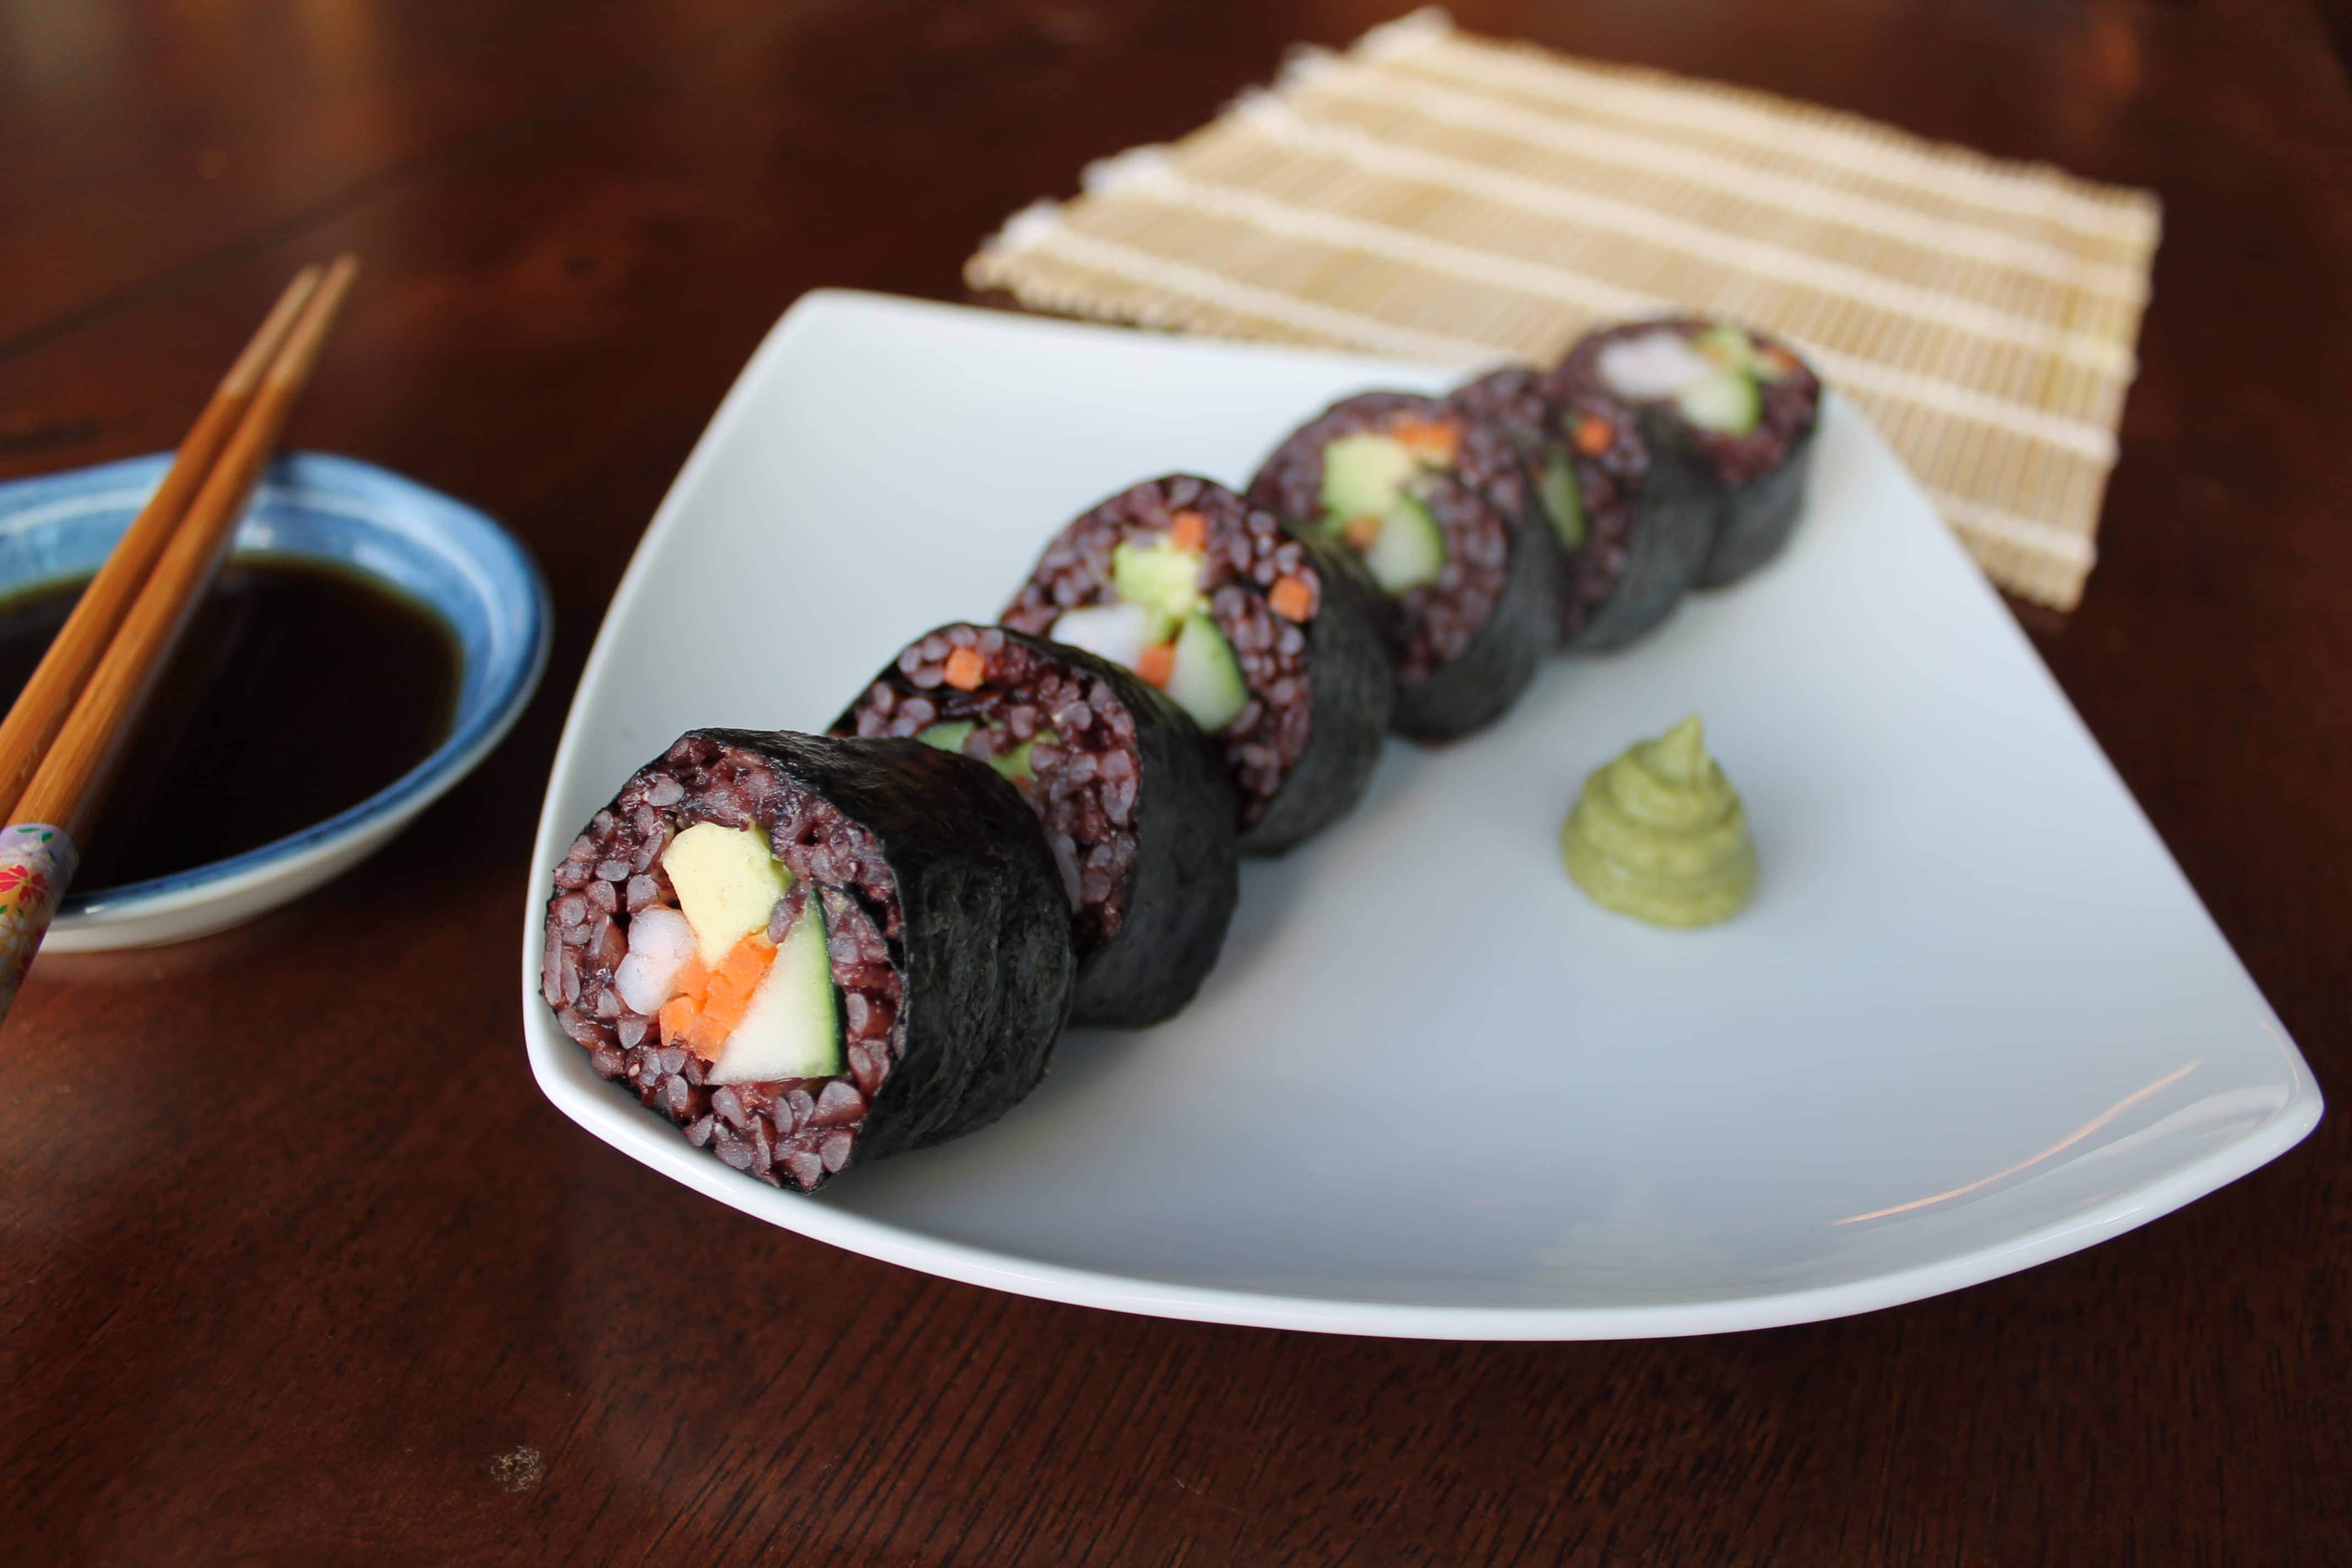
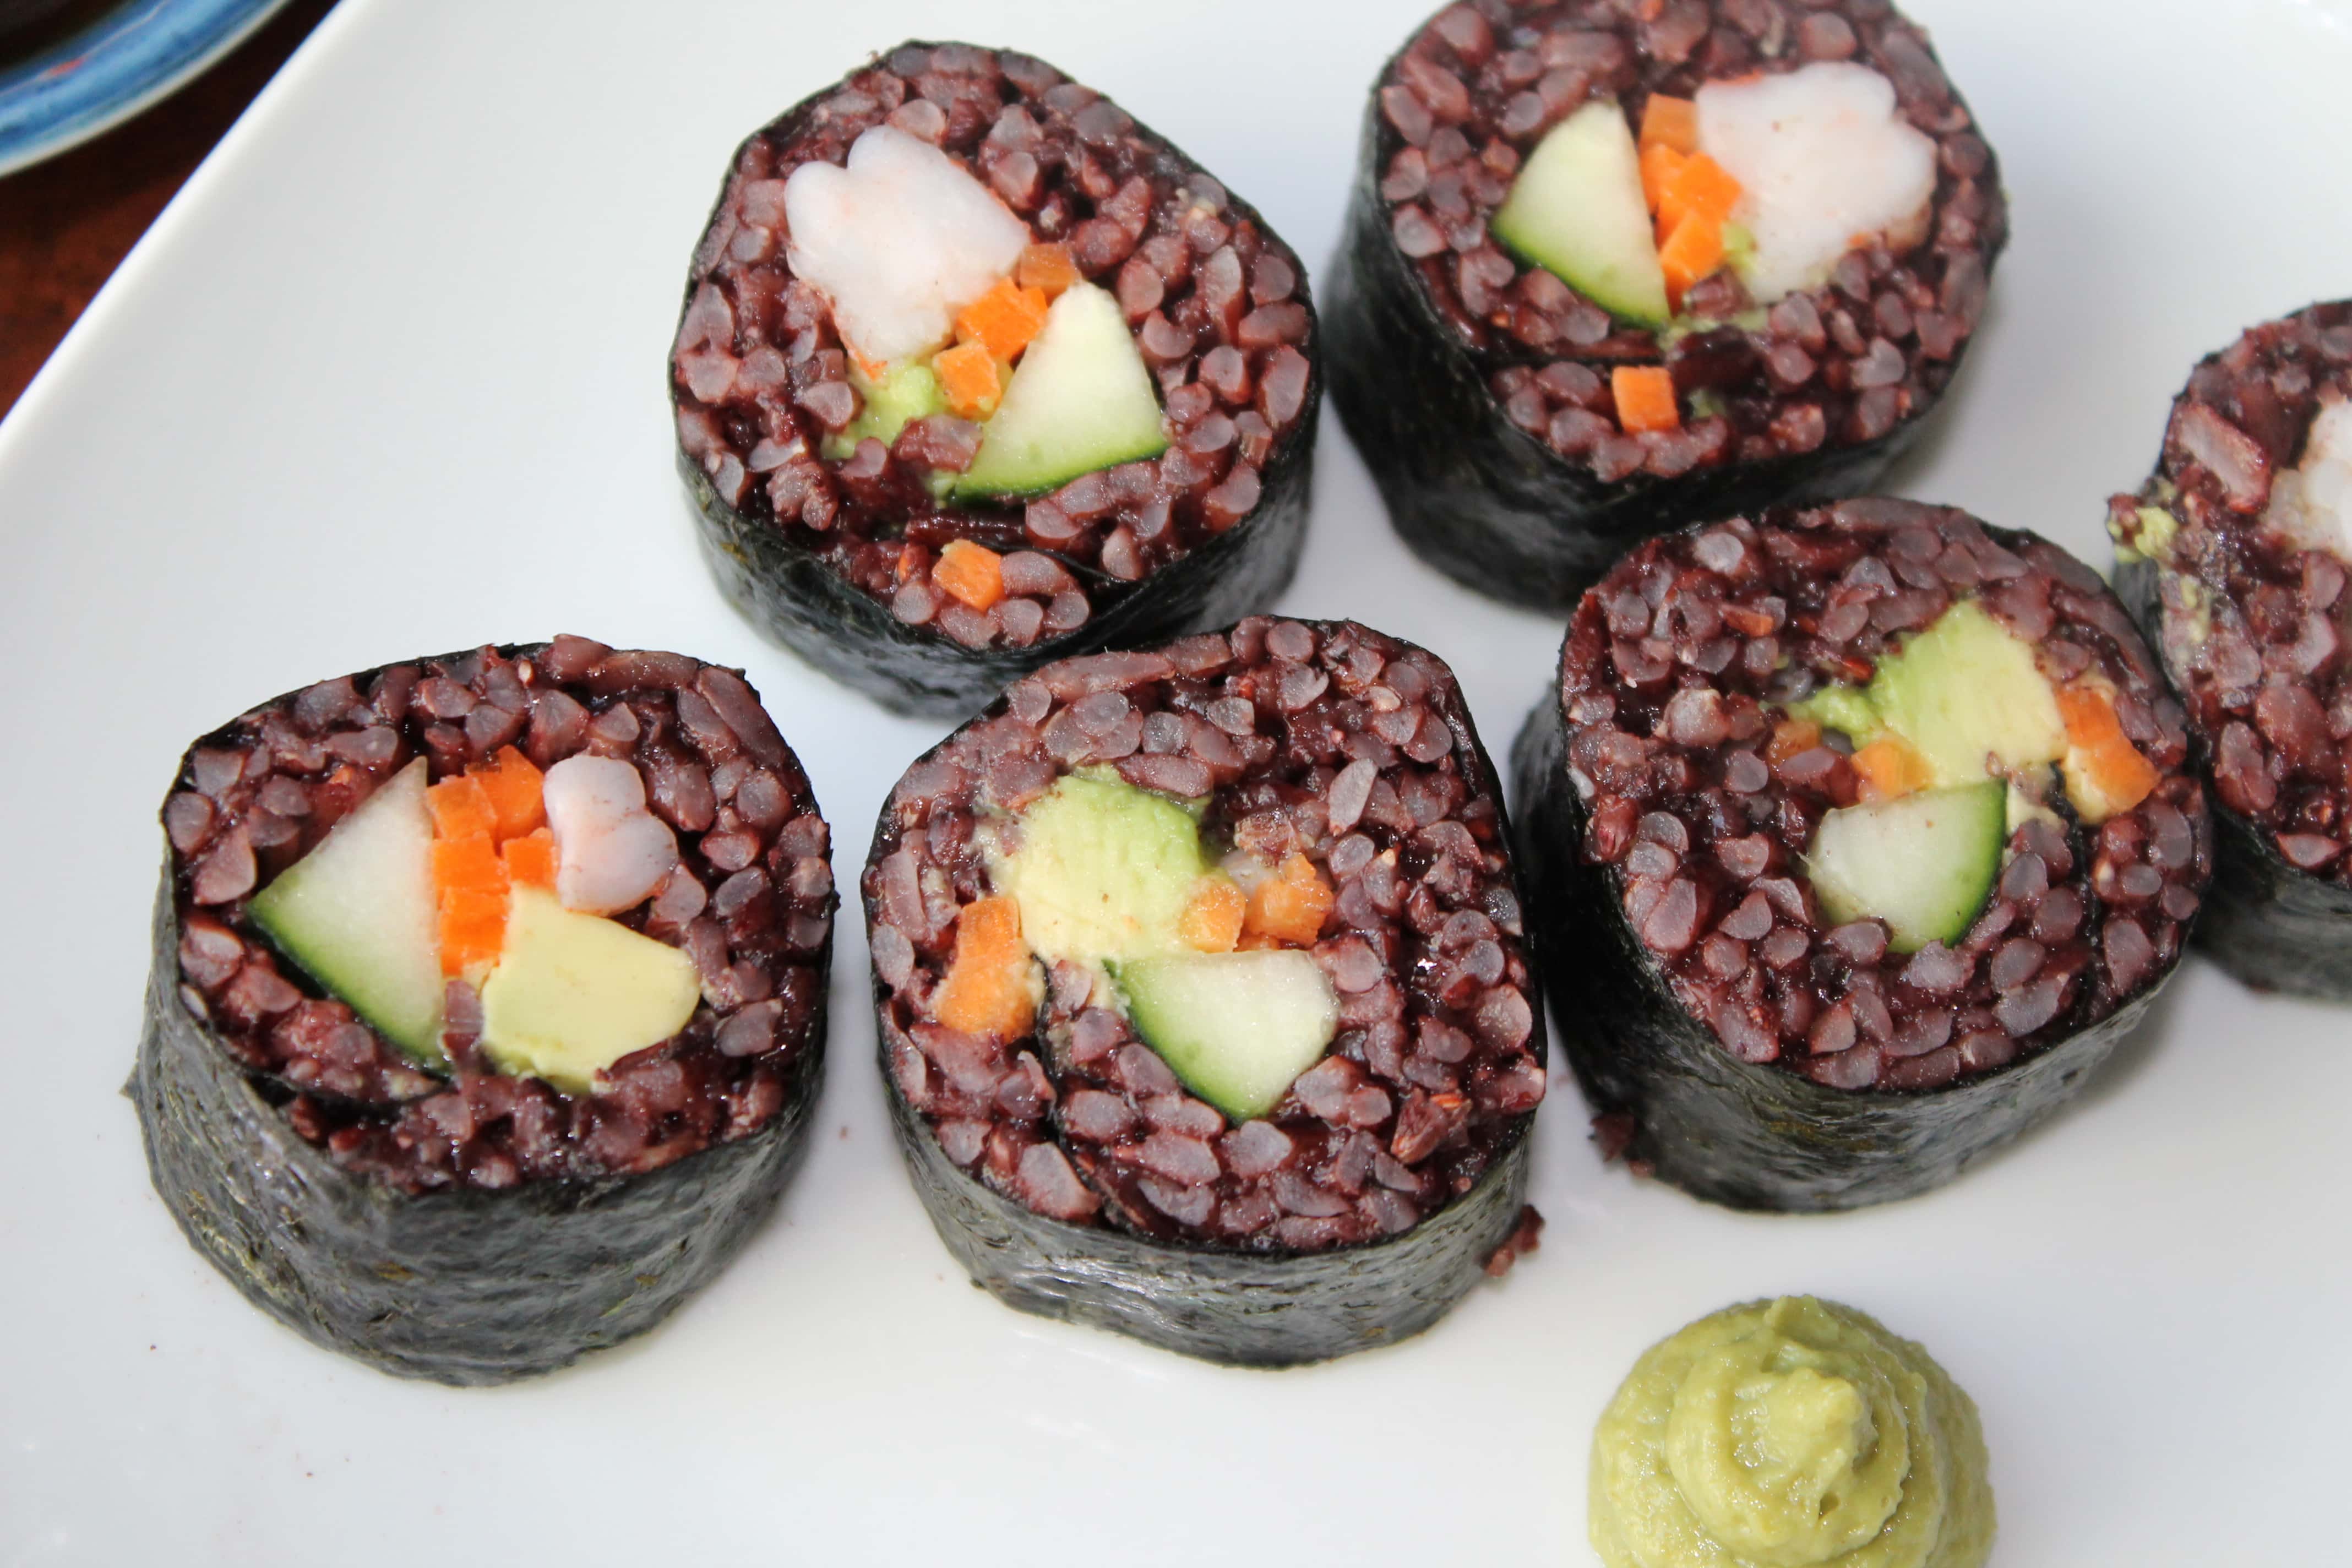
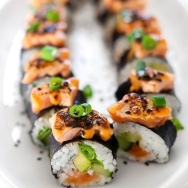
I love raw fish in my maki, but for my first sushi recipe on the blog I thought I’d keep it simple. This maki sushi is filled with shrimp, cucumber, carrot, and avocado. No raw fish, no sea urchin, no fish roe, no eel. It’s a crowd pleaser for sure. This recipe can be converted to suit any taste too. Replace the shrimp with marinated tempeh for a delicious vegan version! The possibilities are endless.
If you have never made maki before, don’t fret! It may take a little trial and error, but it is so worth it in the end! Trust me. You’ll be glad you tried. The rolling process can be a little tricky, but it’s nothing that a little YouTube search can’t handle.
Simplified Directions:
STEP 1 – Assemble your sushi station!
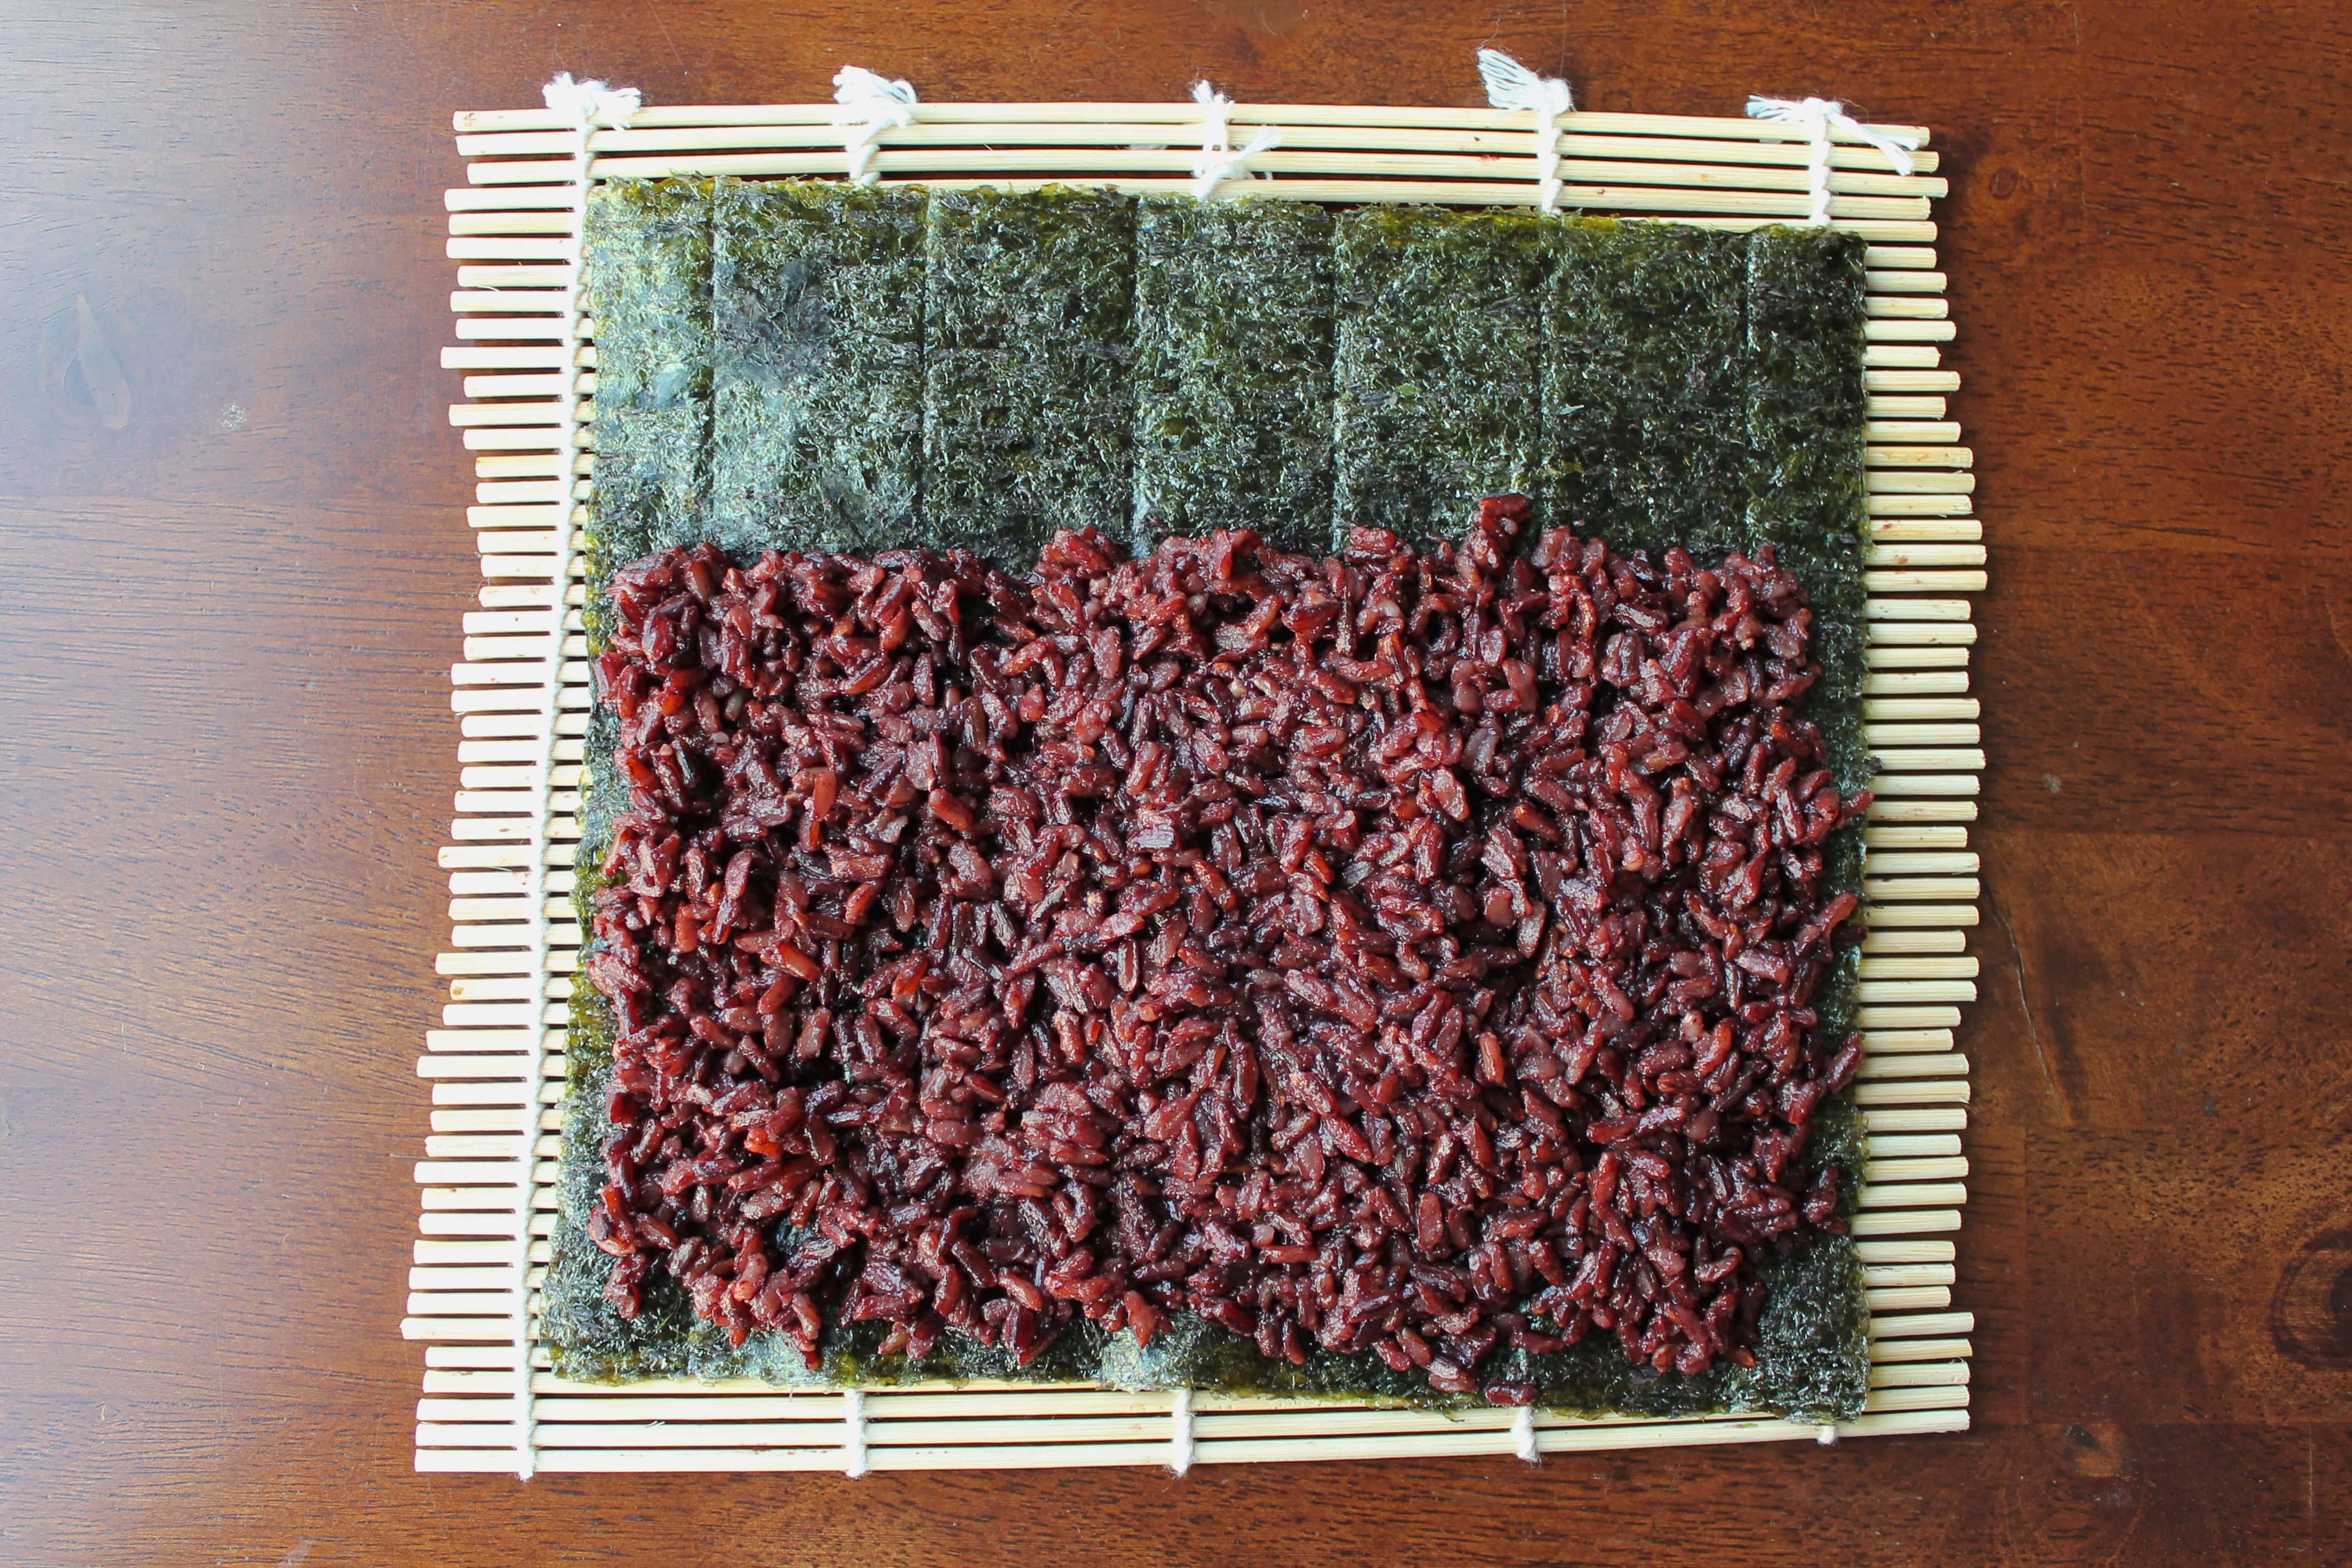
STEP 2 – Spread rice onto nori sheet, leaving about 2 inches at the top.
STEP 3 – Arrange all the goodies on top of the rice in a neat row.
STEP 4 – Roll it up!
STEP 5 – Seal the edge of the roll.
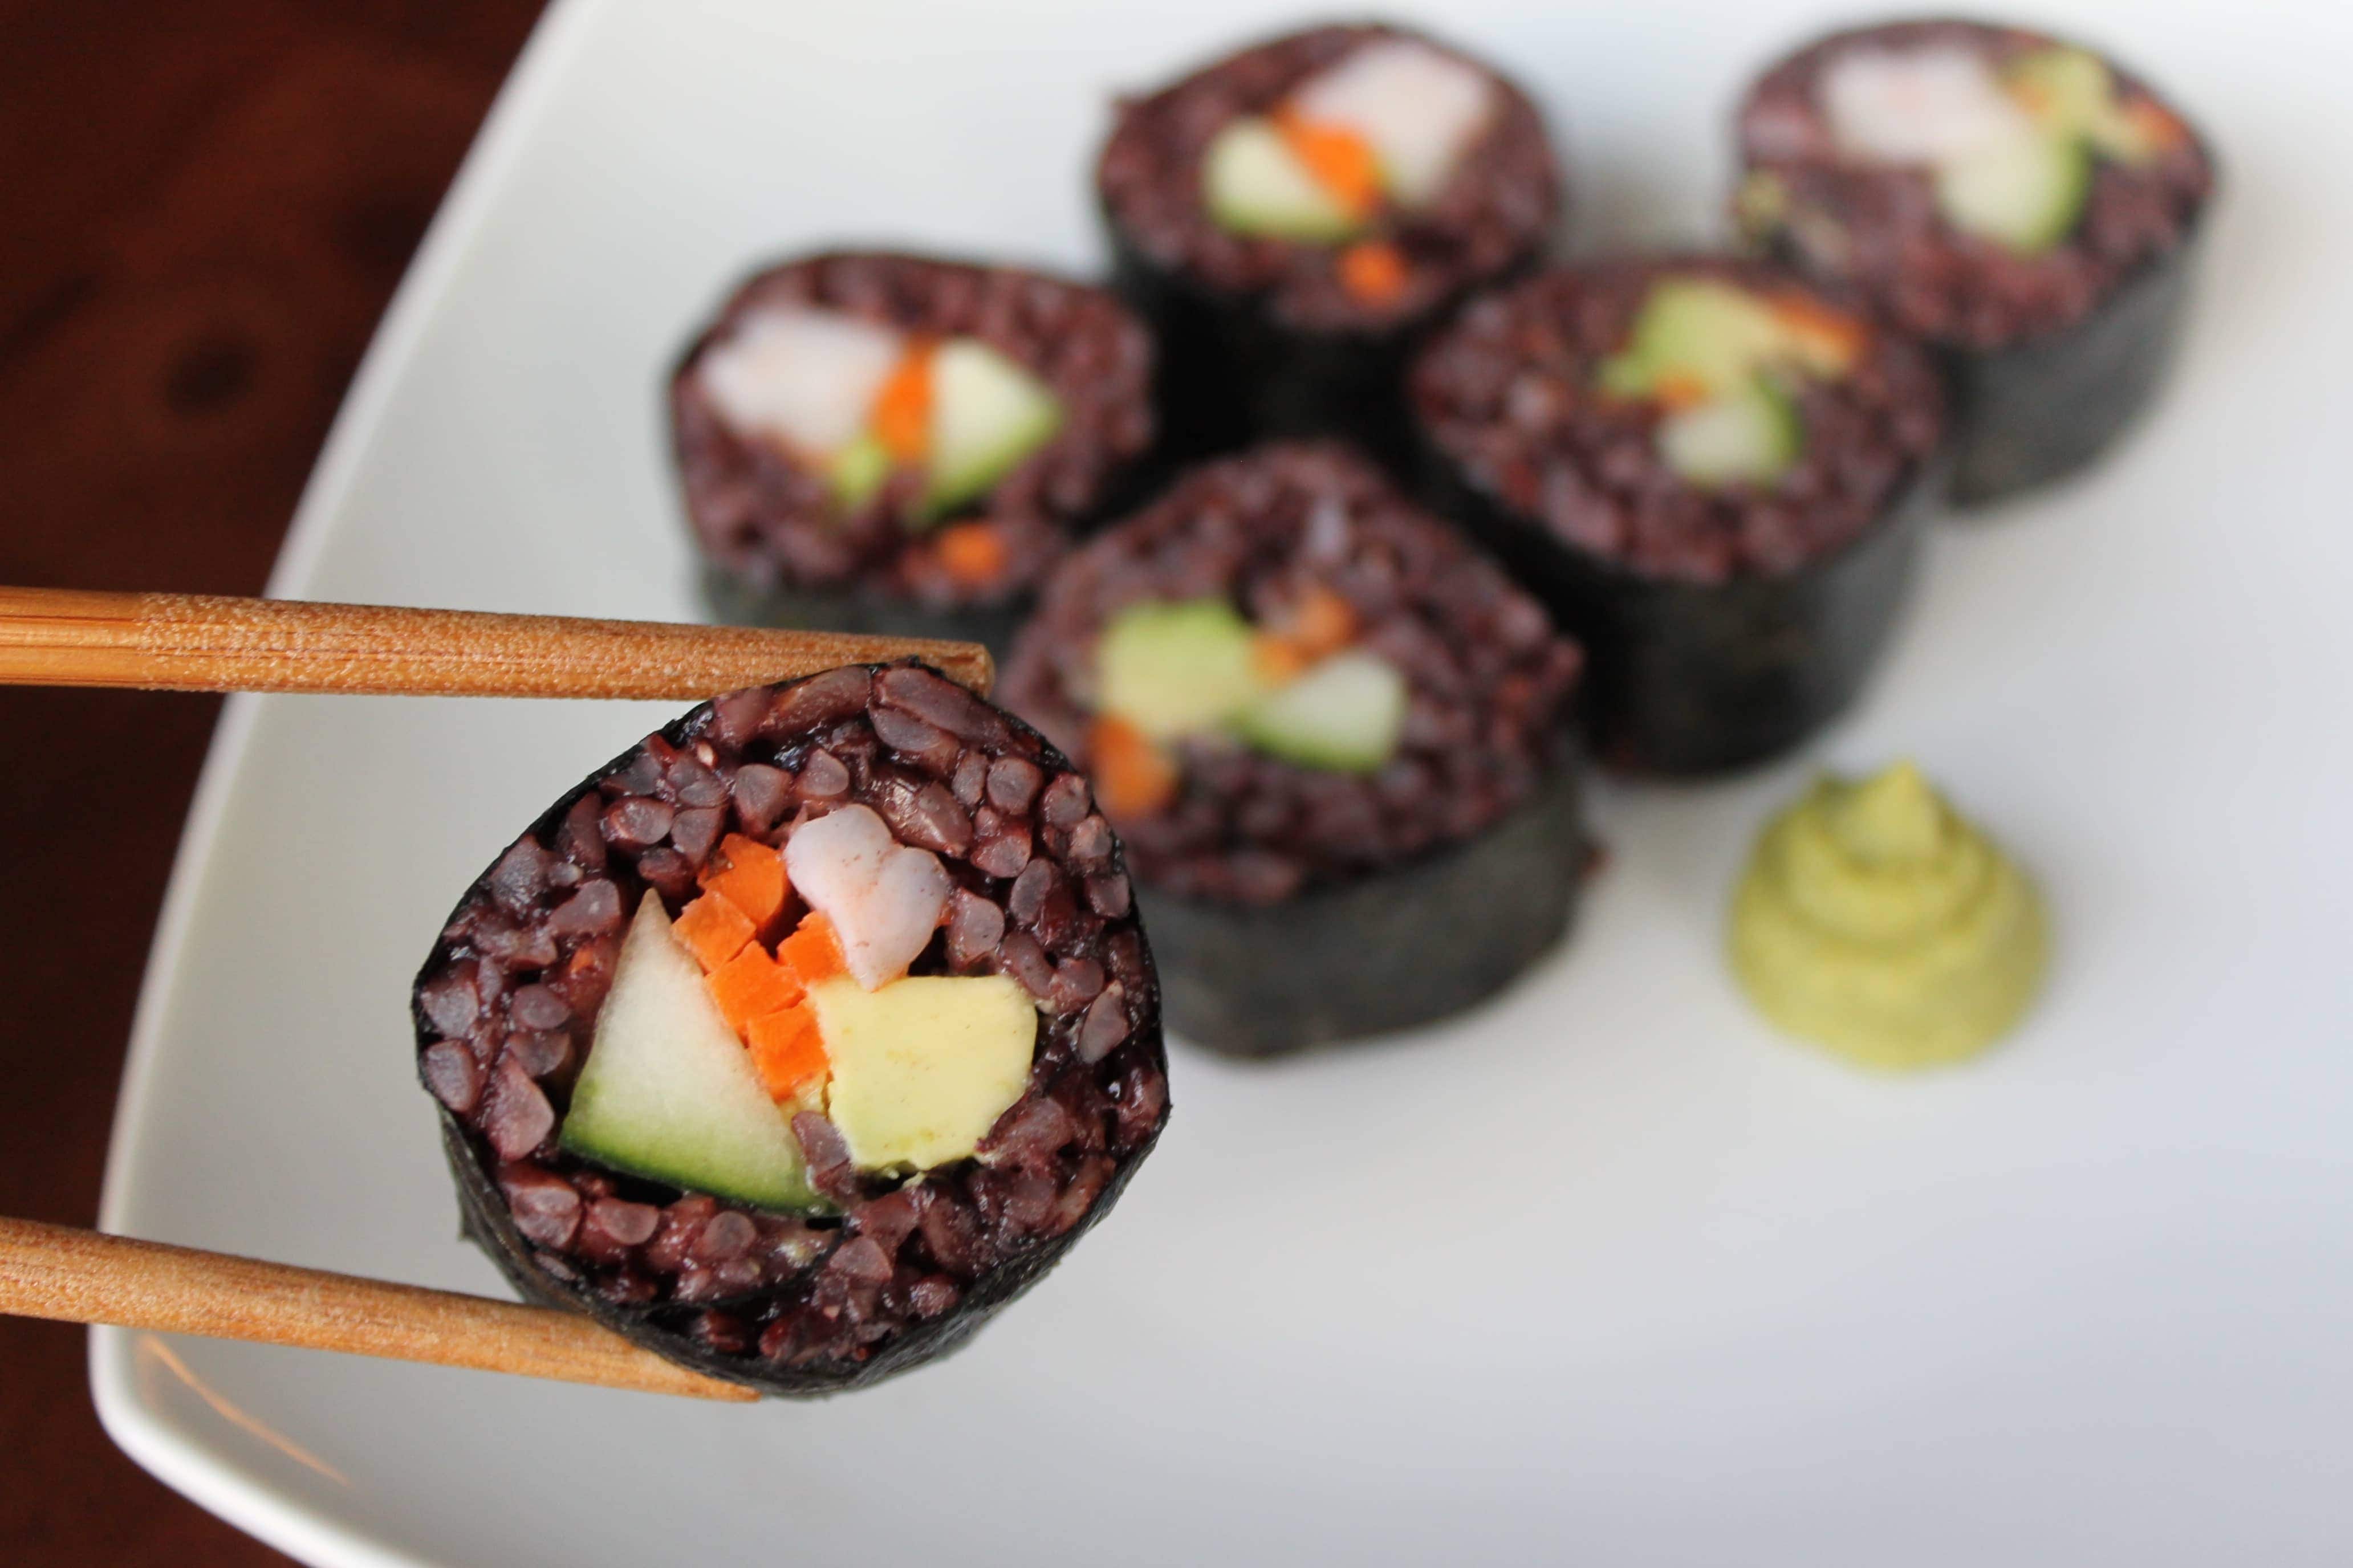
STEP 6 – Cut into pieces and chow down!
Join My Community!
Want to get my new recipes delivered straight to your inbox?
Sign up for my weekly newsletter and never miss a new recipe!
Black Rice Sushi
- Gluten-Free
- Dairy-Free
- Pescatarian
Ingredients
- 2 cups black rice
- 3 1/2 cups water
- 1 cucumber
- 1 avocado
- 1 cup shredded carrots
- 3/4 lb cooked shrimp thinly sliced
- 1/3 cup rice vinegar + 1 tbsp for coating avocado
- 10 stevia drops
- 1 tbsp salt
- 6 sheets nori
- coconut aminos for dipping optional
- wasabi optional
Instructions
- Prepare rice according to the instructions on the package. The ratio of rice to water may vary from brand to brand so make sure you follow the instructions for the brand you choose. Generally, you'll want to bring the rice and water to a boil in a medium-sized saucepan then reduce to a simmer, cover with the lid, and let it bubble away for 35-45 mins. No peeking! You want to keep all of the steam in the pot to help it cook correctly. Once you get to the 35 minute mark, remove the lid to see if all the water is absorbed. If so, stir the pot, replace the lid, remove it from the burner, and let it sit for 5 minutes. If there is still water left in the pot, let it simmer (covered) until the water is absorbed then stir and let it rest for 5 minutes.
- Transfer the prepared rice to a large mixing bowl. Let it cool completely. If you're in a hurry you can gently fluff/stir the rice using a wooden rice spoon or a heat-safe spatula and fan the rice. Sometimes I just stick it in the freezer for 5 minute intervals (stirring in between) until it's cooled.
- While the rice is cooling, you can prep your veggies.
- Slice your cucumber in half lengthwise and remove the seeds with a spoon by gently scraping from one end to the other. Next, slice the cucumber into thin strips (approx. 1/4 inch wide). Each strip should have a little bit of the green peel on it.
- Cut your avocado in half, remove the pit, then slice flesh into thin strips within the skin (without cutting through the skin). I just hold the avocado half in one hand and slice it with a paring knife. Now use a metal spoon to separate the skin from the flesh. Since you won't be using the avocado immediately, gently rub the exposed surfaces with a bit of rice vinegar to prevent them from oxidizing and turning brown (yuck!).
- Now you'll want to do as the Japanese do and assemble your sushi station. I like to neatly lay out all of the fillings (in this case, cucumber, avocado, carrots, and shrimp) on a big cutting board. Then on a clean countertop or table make a stack of nori sheets, prep your sushi roller by covering it in plastic wrap (or not, just more clean-up) and place it next to the nori, and finally grab a small bowl of warm water and a kitchen towel (for your fingers*). Now your station is ready!
- In a small mixing bowl, combine the rice vinegar, stevia, and salt until the salt is dissolved. Pour the mixture over the cooled rice and stir to coat the rice in the mixture. As you stir, use the spoon to mash the rice a bit until it starts to stick together like traditional sticky white rice.
- Add the bowl of rice to your station and you're ready to rock and roll! Literally! Let's roll up the sushi!
- Place a sheet of nori shiny side down on your sushi roller with the lines facing vertically.
- Take 2/3 cup of rice and gently spread it onto the nori with a spoon or your fingers. Cover all but the top 2 inches of the nori. You'll need this space to help seal up the roll! If you're using your fingers to spread the rice, dip them in the warm water to prevent sticking and use the kitchen towel to dab your fingers as needed.
- Place your fillings in a horizontal line across the nori starting about 1 inch from the bottom of the sheet. If you're just learning to roll sushi, less is more here. Too much filling and you'll have a giant mess on your hands. Let's avoid that 🙂 You want a little bit of everything to end up in each bite, so try to make sure each ingredient is present along the length of the sheet.
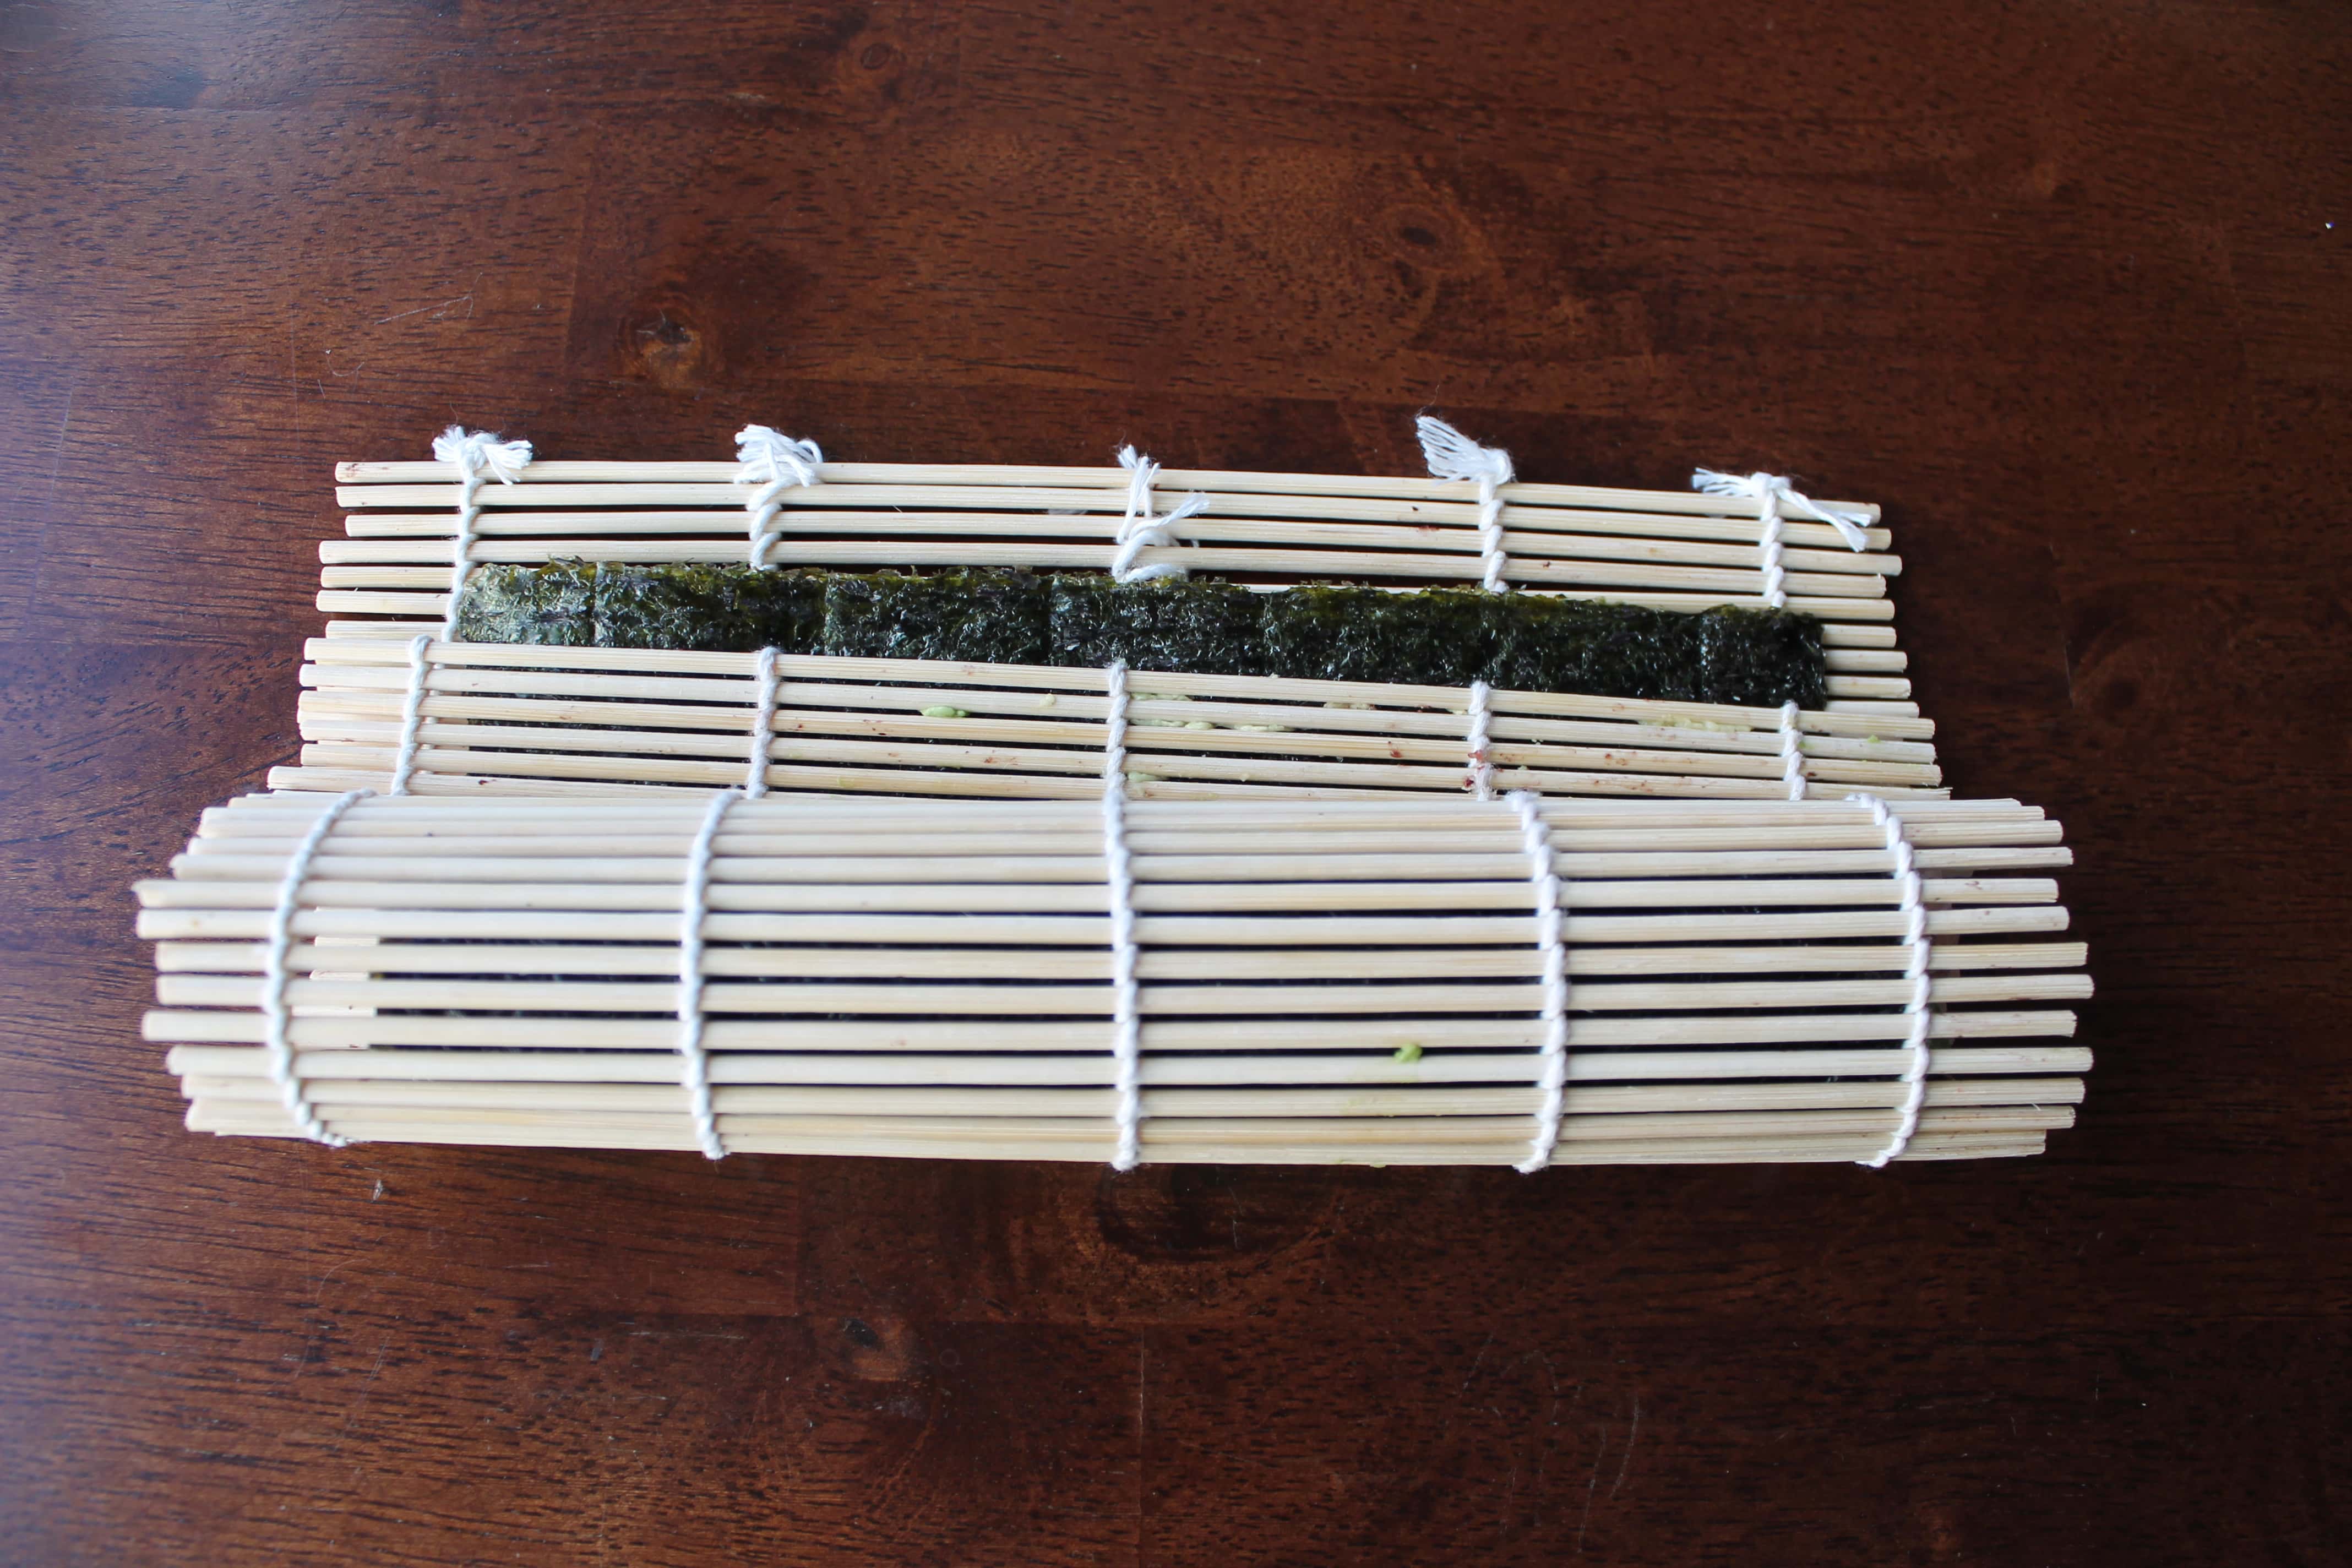
- Now it's time to roll! It may take a little practice, but don't get discouraged! Using the sushi roller as your guide, lift the bottom edge of the nori and wrap it up and around the fillings. Now gently squeeze the roll toward your body. This is where the roller comes in handy. Don't squeeze too hard or the fillings may pop out of the end, but do make sure the roll is tight to prevent it from falling apart once you cut it! Now, continue to roll it up while tucking and squeezing the roll to keep it tight. You're almost done! Right before you reach the top of the sheet, dab a finger in the warm water and run it along the top of the sheet. This will help it stick. It might take a few dabs of water. Now roll it all the way up to the top and use the roller to gently squeeze and shape the sushi roll into a nice cylinder shape.
- Remove the roll to a cutting board. You can either cut each roll as you make them or leave the cutting to the end and do all of the rolls at once. I like to cut them all at the end.
- To cut the rolls, use a very sharp knife and dab it with your warm water on both sides. This will prevent the knife from sticking as you cut through the roll. Now slice the roll into 8 even slices, rewetting the knife as needed.
- That's it! *As you work, your hands will get pretty messy. So, whenever they get a little crazy, just dip in the bowl of water and dry them on the kitchen towel. This makes it so much easier!
Did you love the recipe? I would love it if you left me a 5-star review below! ![]()
Did you make this recipe?
Tag @itskitskitchen on Instagram and hashtag it #kitskitchen
Please leave feedback on your sushi adventures! And feel free to ask any questions or for clarification on anything! I’d love to hear from you!
xx Kit
*Just a note here: I do think that white rice can be good for workout recovery, but should still be consumed in moderation. Grains are much more inflammatory in the body than other carbs that could be used for workout recovery. Some of my favorite non-grain carbs are sweet potatoes, yams, butternut squash, and acorn squash. Additionally, these non-grain carbs have more nutrients and fiber than white rice, which is always a good thing!
Disclosure: This post contains affiliate links (Amazon Associate). These links do not cost you anything, but I do receive a commission when you use them. They are a great way to support blogs you love and pick up some good things while doing it!

Have never ever heard of black rice before. Will definitely be trying this very soon! Congrats on the site – it looks great 😀
You can usually find it in normal grocery stores with the other rice in small packages. The Hinode brand is pretty common and that’s the one I use! Aww thanks so much! And thanks for checking out my site!! Hope you’re doing well! 😊